slowTA
Jul 11 2011, 02:49 AM
StanIROCZ
Jul 11 2011, 12:15 PM
cool!
You have to replace any rusty sheet metal?
slowTA
Jul 11 2011, 01:52 PM
I didn't have to replace anything rusty, just clean up a fee spots of surface rust. There was also a crack I stumbled across in the passenger side at the rear of the wheel well... along with the typical crack at the top corner of the door frame.
CrashTestDummy
Jul 11 2011, 03:11 PM
Heh, that's the way to keep the competition guessing, bring the car with a different color on it to each event!

Since you're in CP, I guess you've added subframe connectors to help reduce that tendency to crack at the top back corner of the door frame? Our Firebird with a 6-point cage in it didn't have those cracks. Our 92 B4C, which has been run in F-Stock, does, both sides. When I get to the restomod of the 92, I'll be adding SFC's. I know it throws us out of stock, but prefer to preserve the body.
That will look very interesting when you're done. No problem with the Mustang color there, we have a competitor here running a Hugger Orange Mustang in CP. I'm leaning strongly toward the 93 Cobra Teal when we do ours.
slowTA
Jul 12 2011, 04:03 AM
I made good subframe connectors over the winter, I had a bolt in set but they got in the way of the torque arm body mount. They're 'only' 2 point but are 2" square .125" thick that I welded to the pinch weld every 6" or so. I didn't add the third point because I couldn't figure out how to make both sides even thanks to the exhaust. They work great as a jacking rail and I tied my lap belt into the driver side.
198esp
Jul 12 2011, 01:40 PM
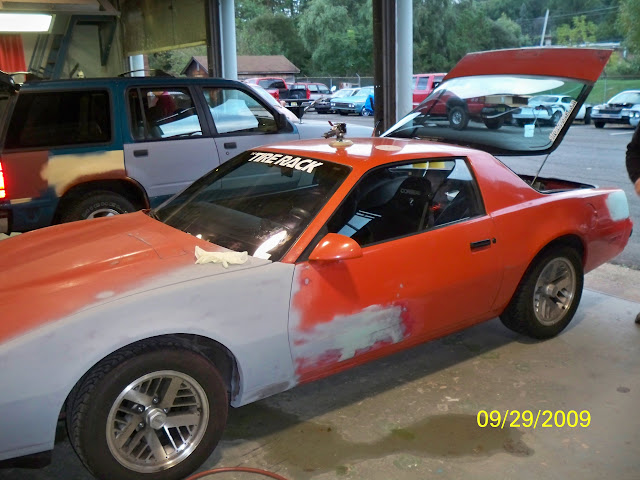
you know all that paint is only going to slow you down, cant wait to see it all done
Kubs
Jul 15 2011, 05:23 PM
Looks like a fun project! Looking forward to some finished pics.
slowTA
Jul 25 2011, 01:15 AM
CrashTestDummy
Jul 25 2011, 01:27 PM
Man, it's a shame you got all that white dust in the paint!!

It does look good, though. Pics outside, please!
I'd be interested in knowing the process you followed replacing the seal around the door windows. I have a messed up seal on our 92 B4C (looks like someone tried to unlock the door with a long hack saw blade), and IIRC when I went to pull the drip rail and seal off a car in a junk yard, it ended up bending some stuff. I'd like to know the _right_ process.
Kubs
Jul 25 2011, 04:59 PM
It looks nice and smooth! Good job on the prep work. Too bad all that dust got in it. Did he have a booth to spray in?
slowTA
Jul 25 2011, 05:02 PM
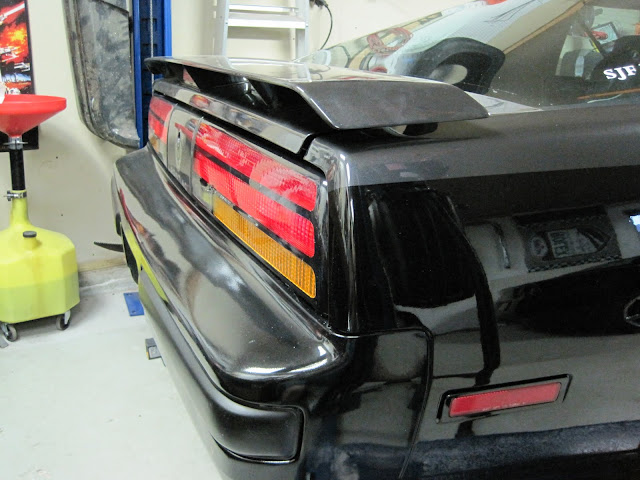
Haha, that white dust is flake!!! The painter even commented that it was such a shock looking at the car in the shop vs. out in the sunlight. I'm sure the photographers will be out at the next event, hopefully it will be sunny. My new magnetic numbers are silver with an orange outline. That said, there is a fair amount of other junk in the paint that shouldn't be there, but I doubt many people besides me would notice.
The roof rail gaskets are glued into the metal frame. Once you destroy the gaskets getting them all out you might be able to see all the screws holding the metal frame to the body. Then once you get all the screws out which are mostly hidden beneath the glue (3 on the vertical part,*many* along the roof and A pillar) , you'll have to pry out the frames since they're also held in with double sided tape. It was easy enough to pry the frame away from the body working from one end to the other... but cleaning all the tape off of the frame wasn't fun. Let's not forget getting all of the glue out of the frames was a royal pain too.
I installed the driver side first... and screwed it up a little. Got glue on the outside of the gasket and took some rustoleum off the frame. I'll touch it up but it sucks that I learned on the driver side.
I bough the double sided tape and weatherstrip at Autozone, both are 3M and one package of tape was more than enough. The 3/4" wide tape was just about right.
You apply the black 3m weatherstrip adhesive to both parts and let it sit for 30 second to set up. I started in the top corner and found it was best to work down the vertical part and feed the outside edge in first then use a body shop spreader to press the back of the gasket into the frame. For the top part I think it worked best to feed the back in first then press the outside in with the spreader. I knew I would screw up the whole deal if I applied the glue in one shot, so I applied it as I went along. Then I went back and squirted a bunch in the corners. The tube of glue is still pretty full, I hope I used enough.
Today the window started squeaking really bad with the door open... so I'll grease the whole mess and hopefully it will go up better.
The hatch seal just slips over the pinch welds, I didn't even bother with the glue since the one I took out wasn't glued in either.
Kubs
Jul 25 2011, 05:29 PM
QUOTE (slowTA @ Jul 25 2011, 01:02 PM)

Haha, that white dust is flake!!!
I kinda thought that but I think the flash from the camera makes it look worse. Im sure it person it looks awesome! Some sun shots would help us see it better too.

198esp
Jul 25 2011, 05:46 PM
so are you going to be one of those dorky guys that blue tapes half the car? or are you ready for some cone marks. Are you comming down to race this weekend, Tony and I are going
slowTA
Jul 25 2011, 05:51 PM
Not taping up the car... I've clobbered 3 cones with the front bumper already and you can only see 2 small marks. But I'm thinking about some clear bra ,material since usually the rockers (and wheels) get the most abuse.
I can't make it this weekend, but I'll be out there on the 6th.
CrashTestDummy
Jul 26 2011, 01:06 PM
Thanks, Chris. Your description is how I seem to remember it. I screwed up the metal part trying to get the rubber part off to remove the metal part. I'll have to hit the Pick-N-Pull again for some more drip rails, but take my plastic prybars with me the next time.
Yeah, cone marks are a rite of passage, I guess. Luckily, they mostly rub off. The dark color will hide most of it. I have an almost complete imprint of a cone midway up the driver's door on our car. Not sure how it got that far up, but I do remember a couple of clockwise spins at recent events. I guess if you hit them hard enough, you can get a little air under them.
New weatherstrip is great, but really shows the weaknesses in the rest of the system. I recently installed new weatherstrip in the windows of our 86 SVO. The doors take a LOT to close, and a lot of effort to open. All the window tracks had to be re-greased, too, just so the windows would work. The doors have a very nice solid 'thump' to them when you close them though. That's nice.
slowTA
Jul 26 2011, 04:34 PM
The weathersrip is beyond annoying at this point. The door weatherstrip was on the car for a while but I reinstalled it after paint, you would think it will be cooperative at this point... no luck. Even with the window down it takes a good shove to close. With the window up I have to slam it a few times and something in the door makes a horrible sound. I'm worried about breaking the glass!!!
This is a "lo-fi" version of our main content. To view the full version with more information, formatting and images, please
click here.